Our Installation
If we could only choose one thing to get right (fortunately we don’t have to choose), it would be installation. Although we have some opinions on different window and door products, based on our experience, we are much more concerned with how the product is installed in the house. Your house has a weather envelope that was designed by the builder/architect to manage all of that liquid sunshine the Willamette Valley is known for. How we incorporate a new window or door product into that envelope makes all the difference in whether we are improving the situation or creating an issue for future you to have to solve with stress and money. This is why we take the installation very seriously, and make sure it is done right, every time.
Now the products and techniques behind this installation will vary depending on the unique weather envelope of the home, there are a few standard installation methods that we see most homes falling into. We call these Dual wall installation, Single wall installation, and Buck Frame installation.

Dual wall installation
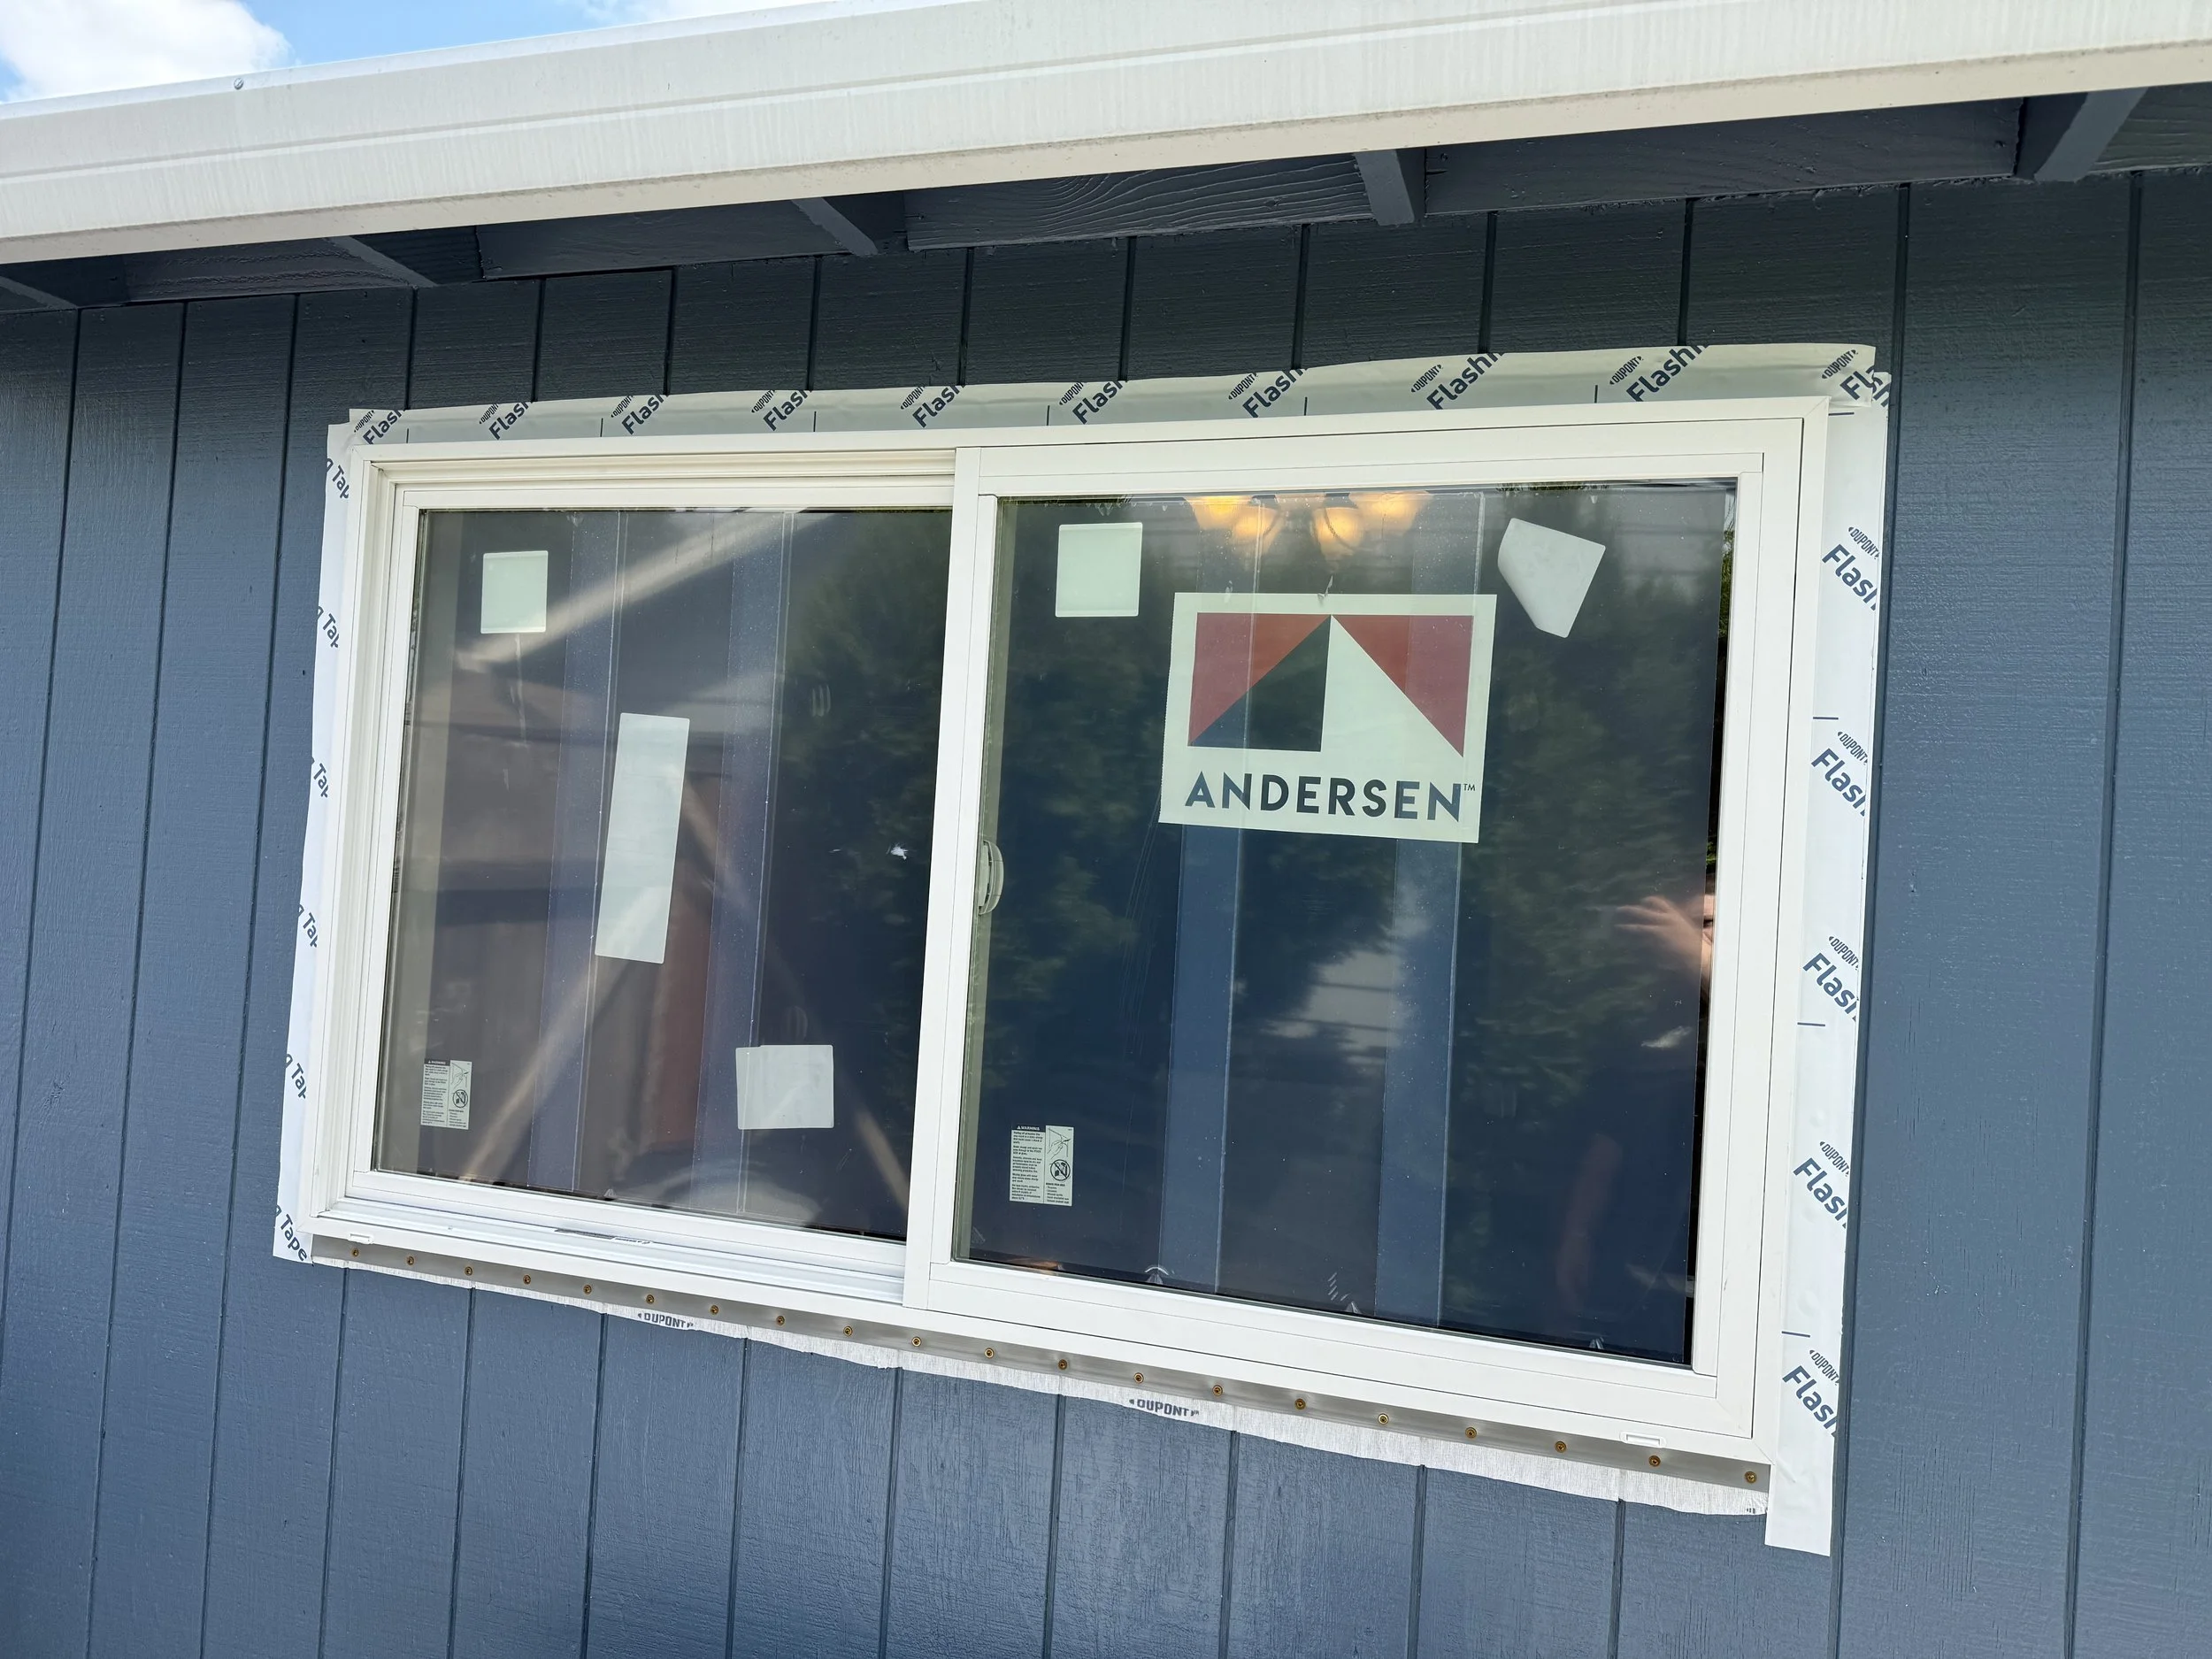
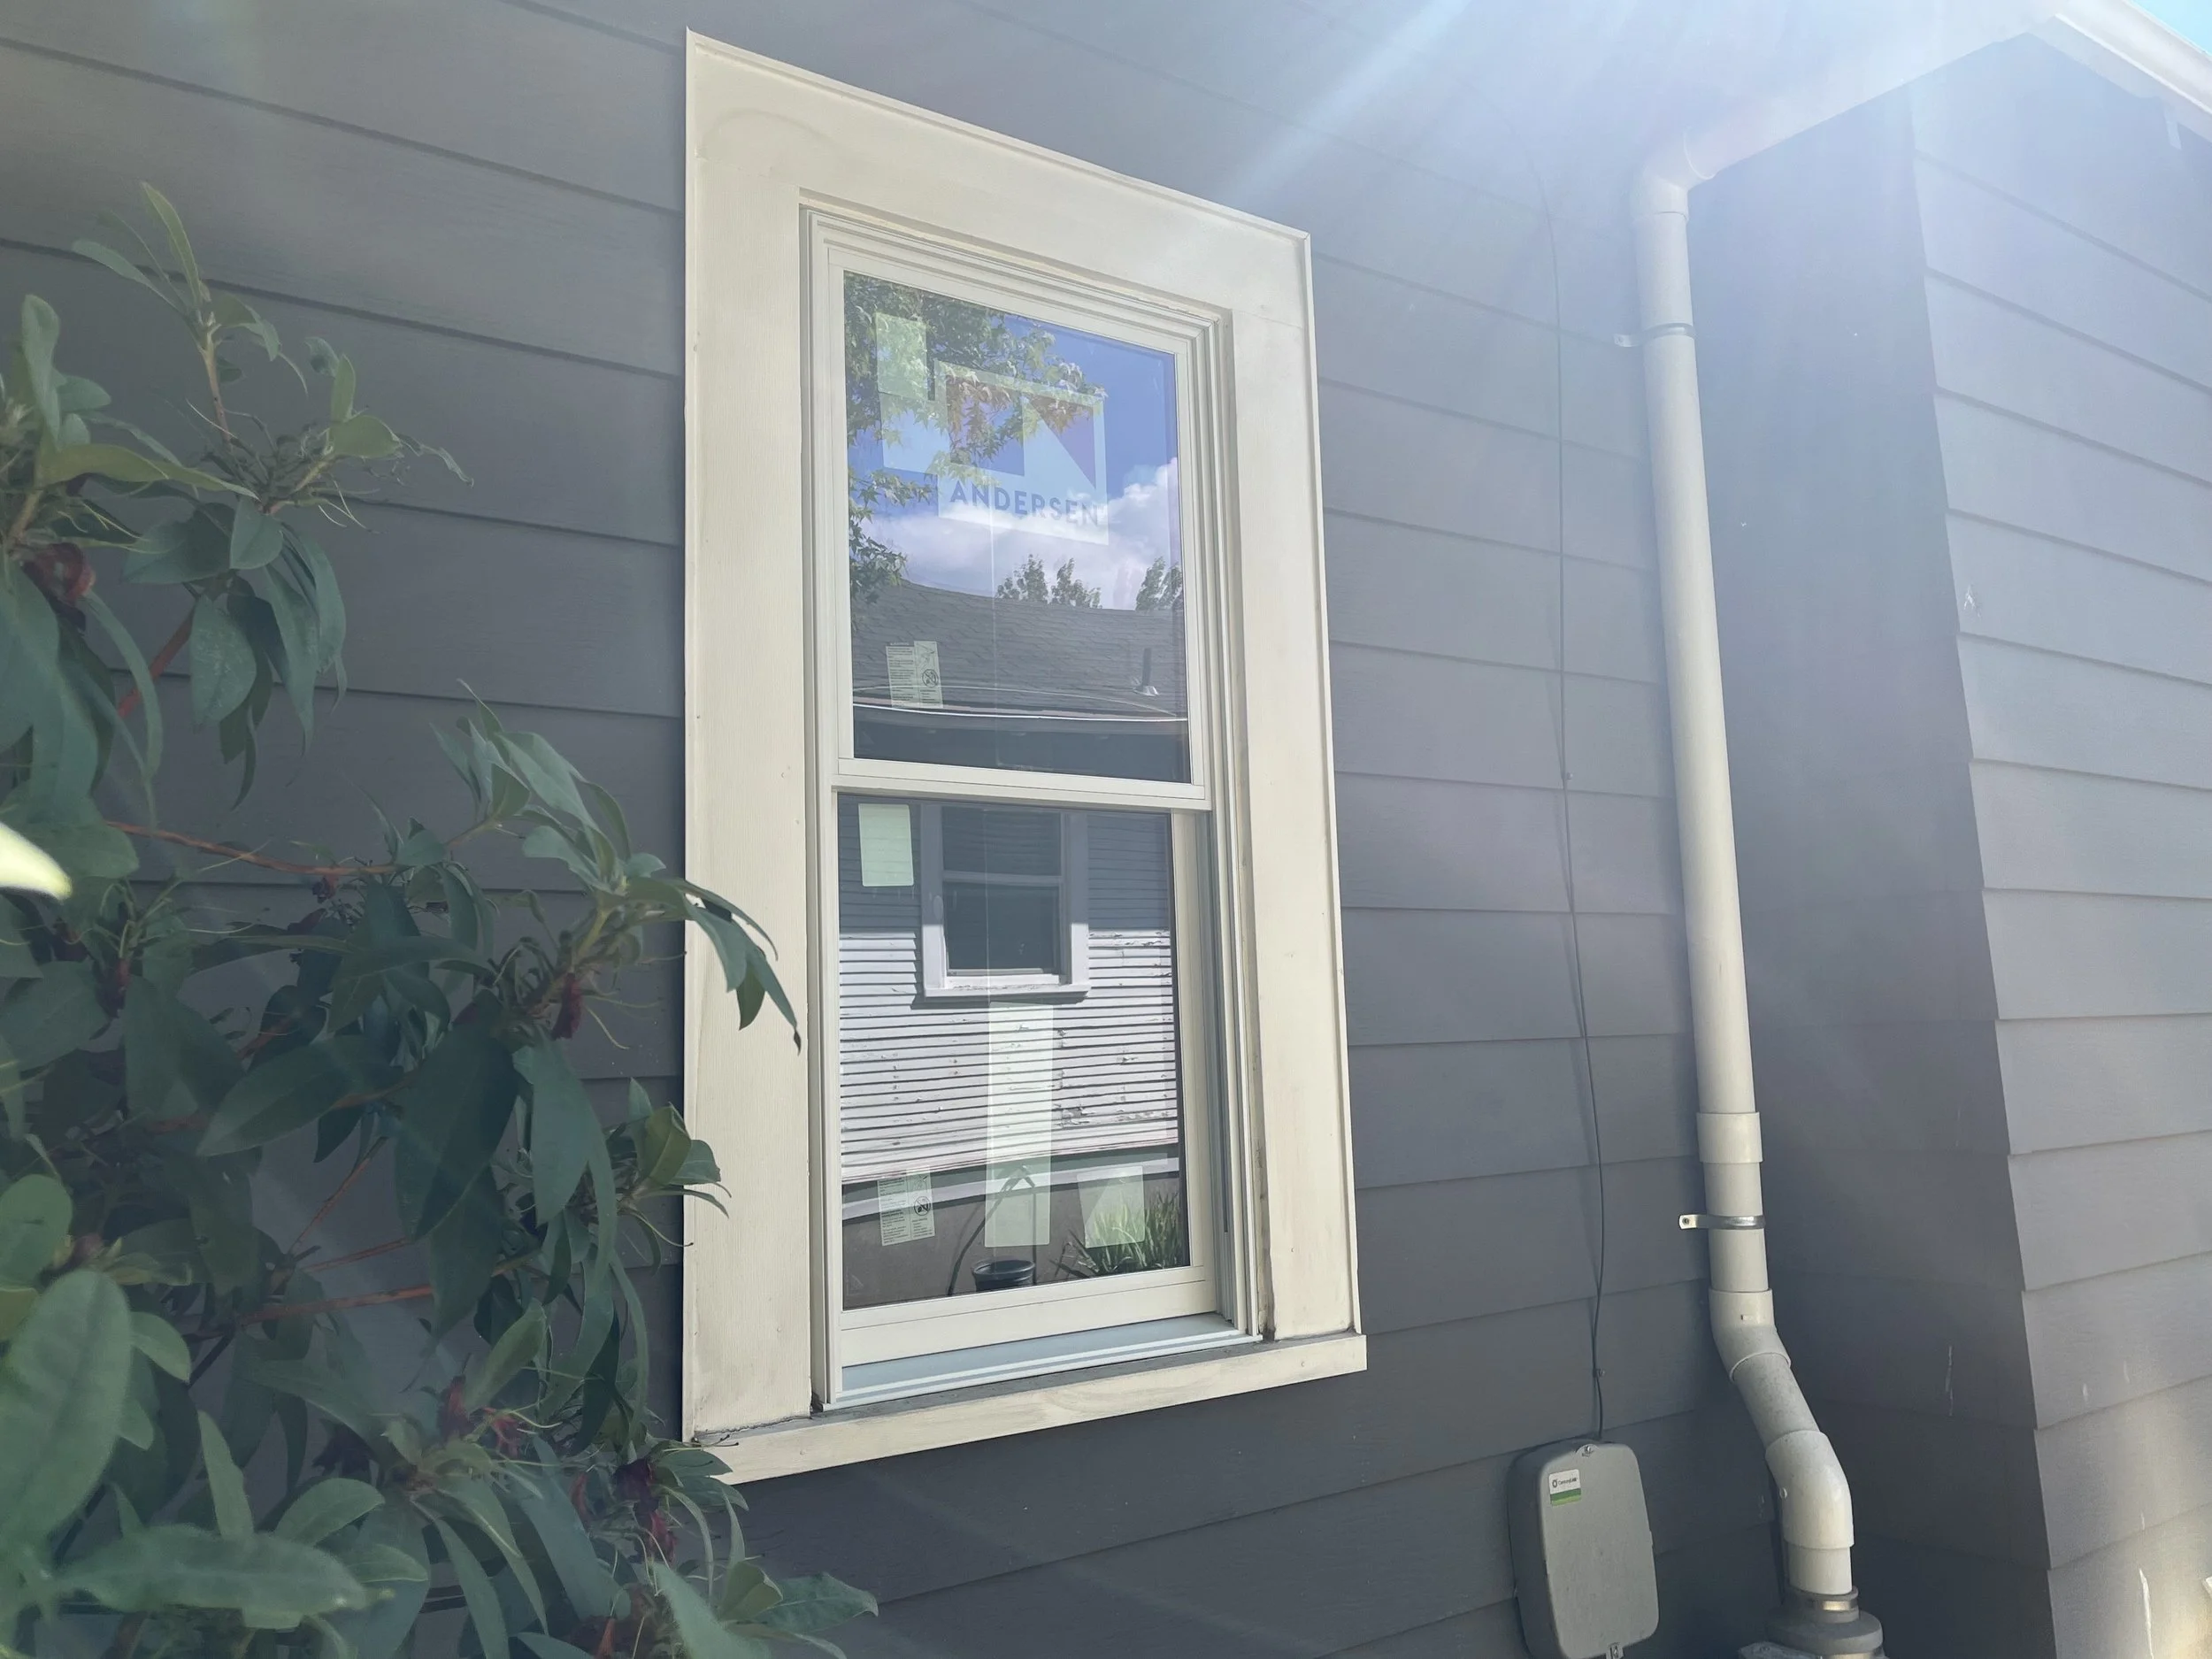
Dual Wall installation is the most common installation method, and most homes built in the last 35 years are built this way. The exterior wall consists of sheathing, a weather resistive barrier (or WRB) and siding (or cladding). This is an ideal system for shedding water and creating durability to the outer shell of the home.
For a dual wall installation, the original window is first removed from the wall, exposing each layer of the weather envelope. This is important so we can incorporate the new window and flashing into the existing weather envelope.

The next step is to prep the opening and install the window. This consists of a series of flexible flashing membranes, as well as a rigid, metal flashing. These are layered from the bottom to the top, to account for water running down a wall, not exposing seams to failure from above. The nailing flange of the window is then wrapped with an additional layer of flexible membrane flashing.

After the window and the flashing membranes are installed, the head flashing is installed, and the exterior trim is installed. This is then sealed to the exterior siding using an elastomeric sealant, with care taken not to seal the flashing to the above siding, to allow for water drainage.

Once the installation is completed, the window is thoroughly cleaned and after a 24 hour cure time for the sealants, ready for the trim to be painted.
Single wall installation
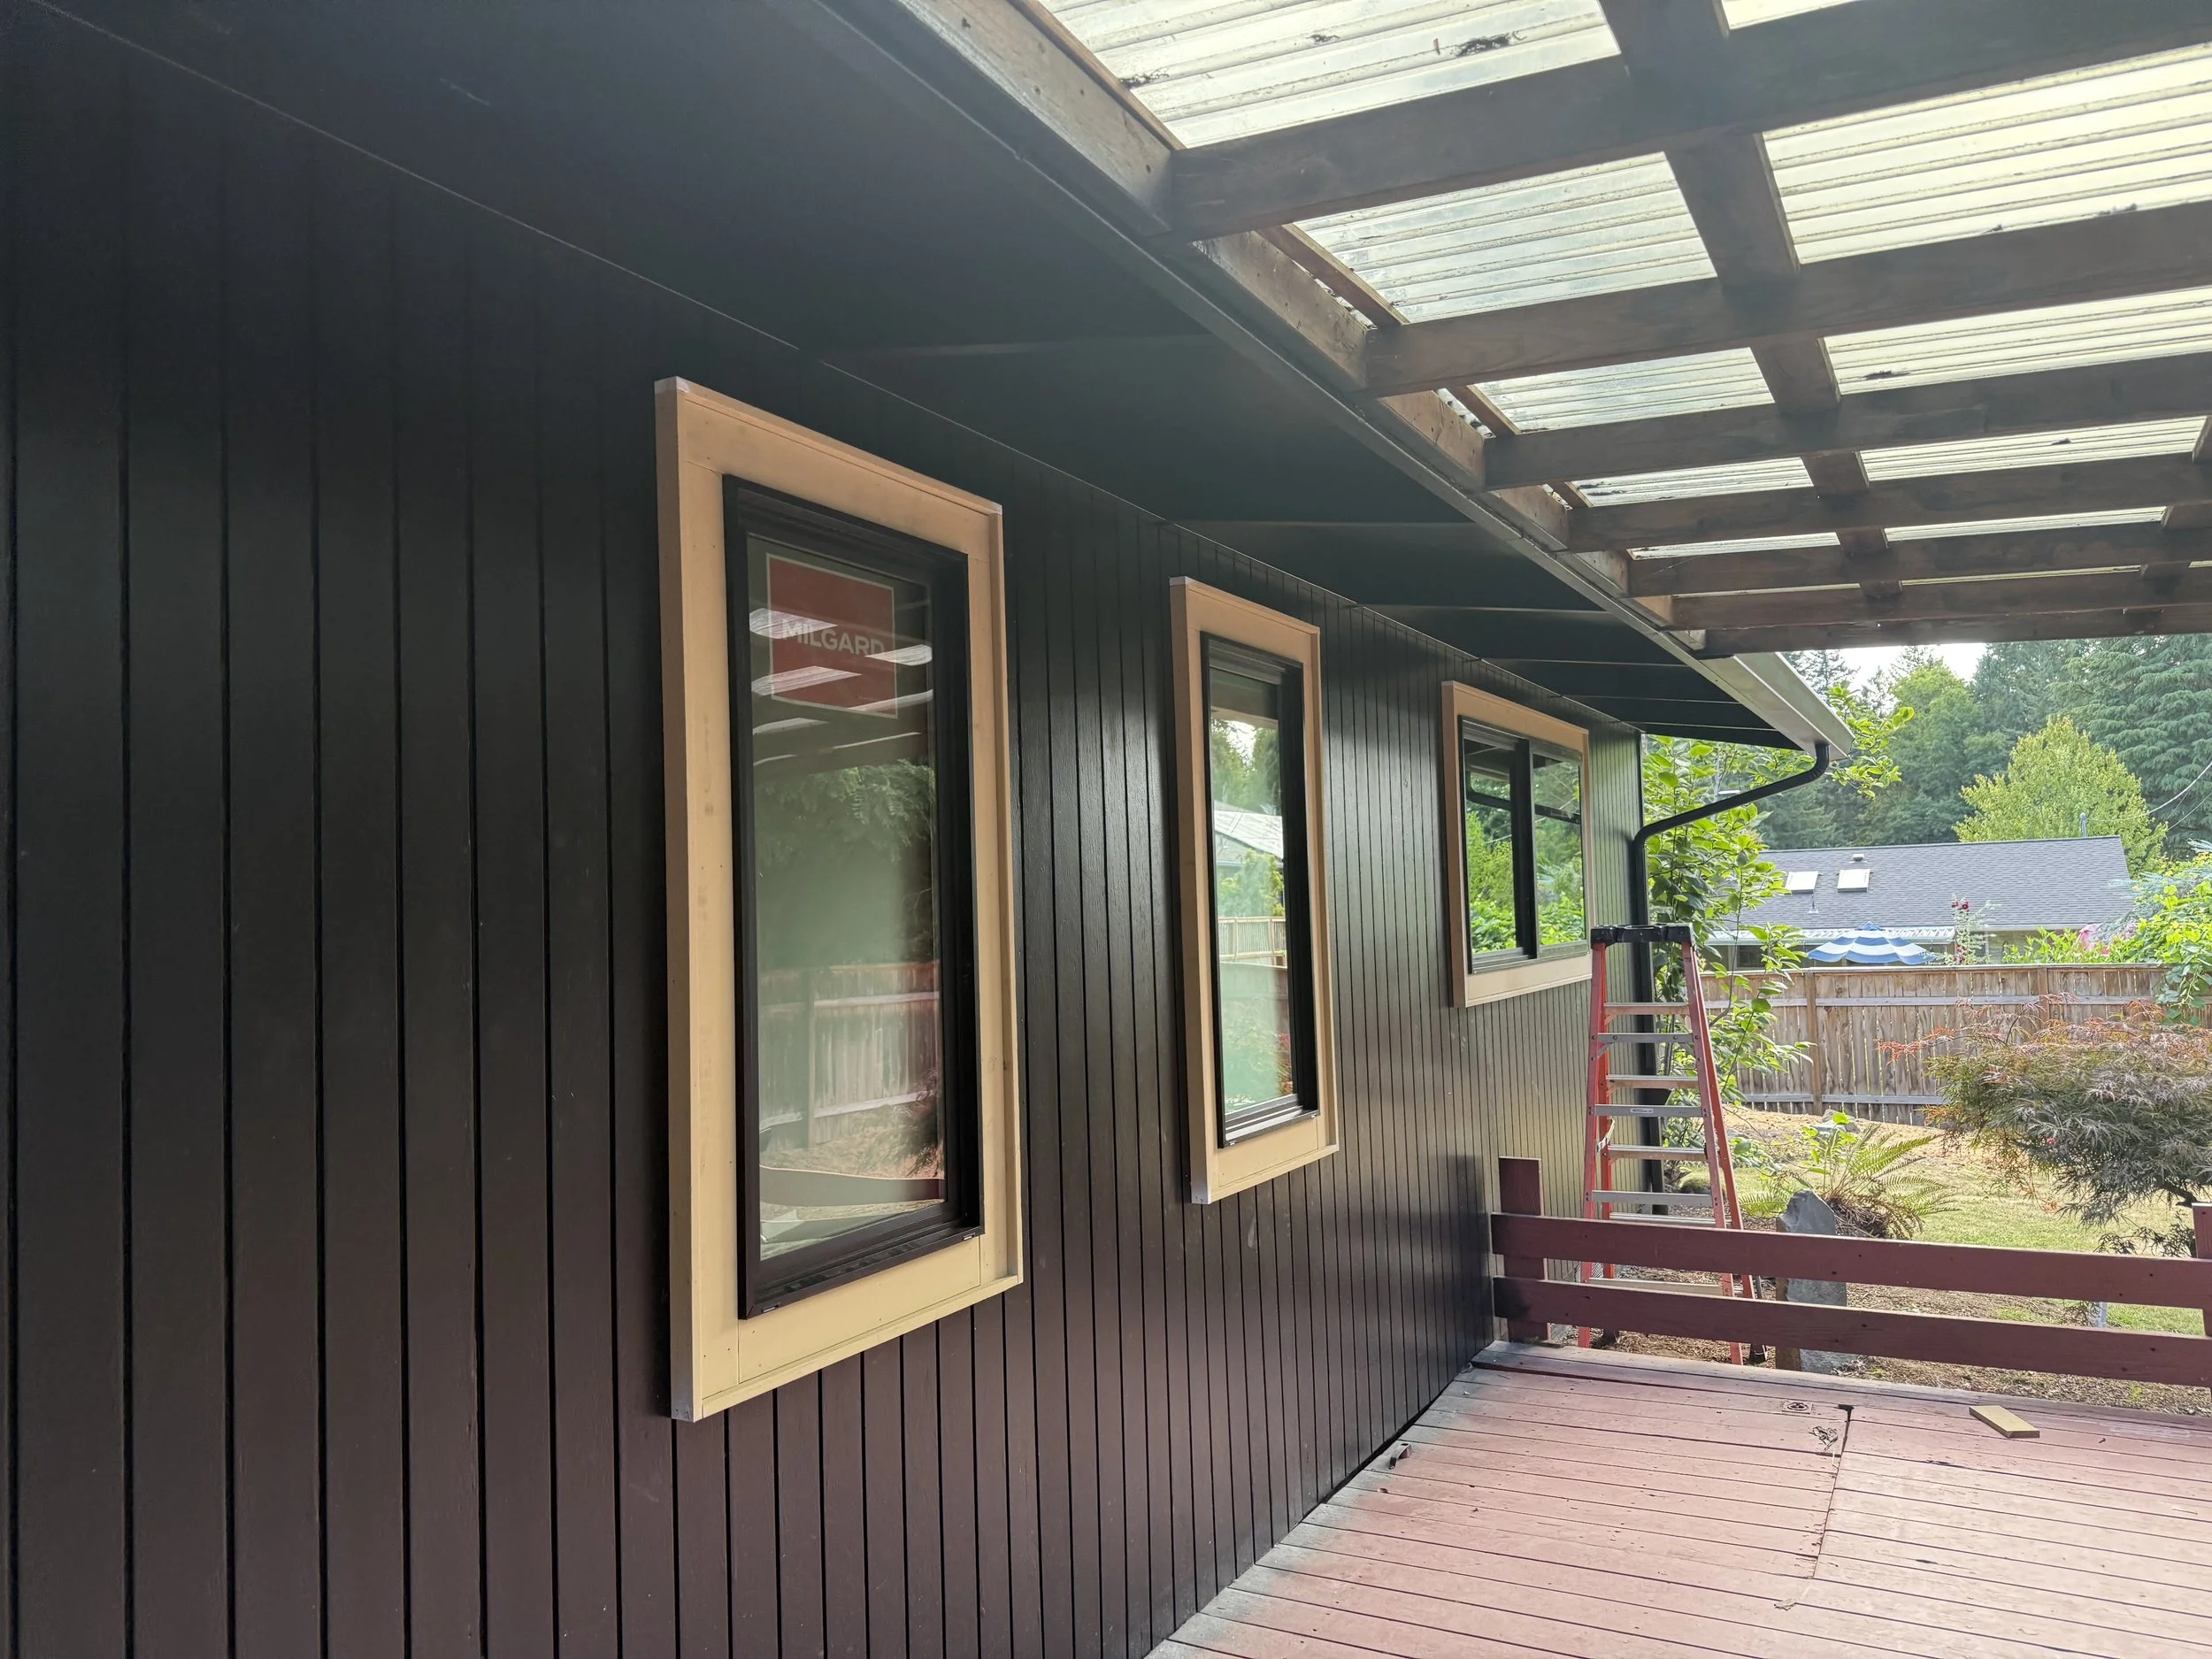
Single wall installation is an install method for a construction style that uses a single layer outside wall. Instead of sheathing, a weather resistive barrier, and siding, the home has a single layer, attached to the framing, for the outside wall. A common product using this building method is T1-11. Another term we use for a single wall installation is barrier method. For this installation method, we have less to rely on to keep water channeled away from the inside of the house, so care must be taken to create a strong barrier from water penetration.

For a single wall installation, the first step is usually to cut out the existing window. The original windows are usually attached directly to the studs, and the nailing flange will sit under the siding. the siding needs to remain as undisturbed as possible, so we can maintain the water barrier, as well as the shear strength of the wall, so the original window is cut free from the framing, so the new window can attach directly to the single wall.
The opening is then prepped in a similar manner as the dual wall system, with a flexible, butyl backed membrane flashing layered from the bottom to the top. The window is installed, and the membrane flashing is sealed over the nailing flange of the window. This is the secondary weather envelope, if the sealant on the trim fails, the membrane flashing will route water away from the opening and maintain the barrier to the exterior.

Finally, the Window is trimmed, and a generous bead of an elastomeric sealant is applied to the top and sides of the trim. Care is taken not to seal the bottom edge of the trim to the wall allowing water to escape if needed.
Once the sealant is cured, the trim can be painted.
Buck frame installation
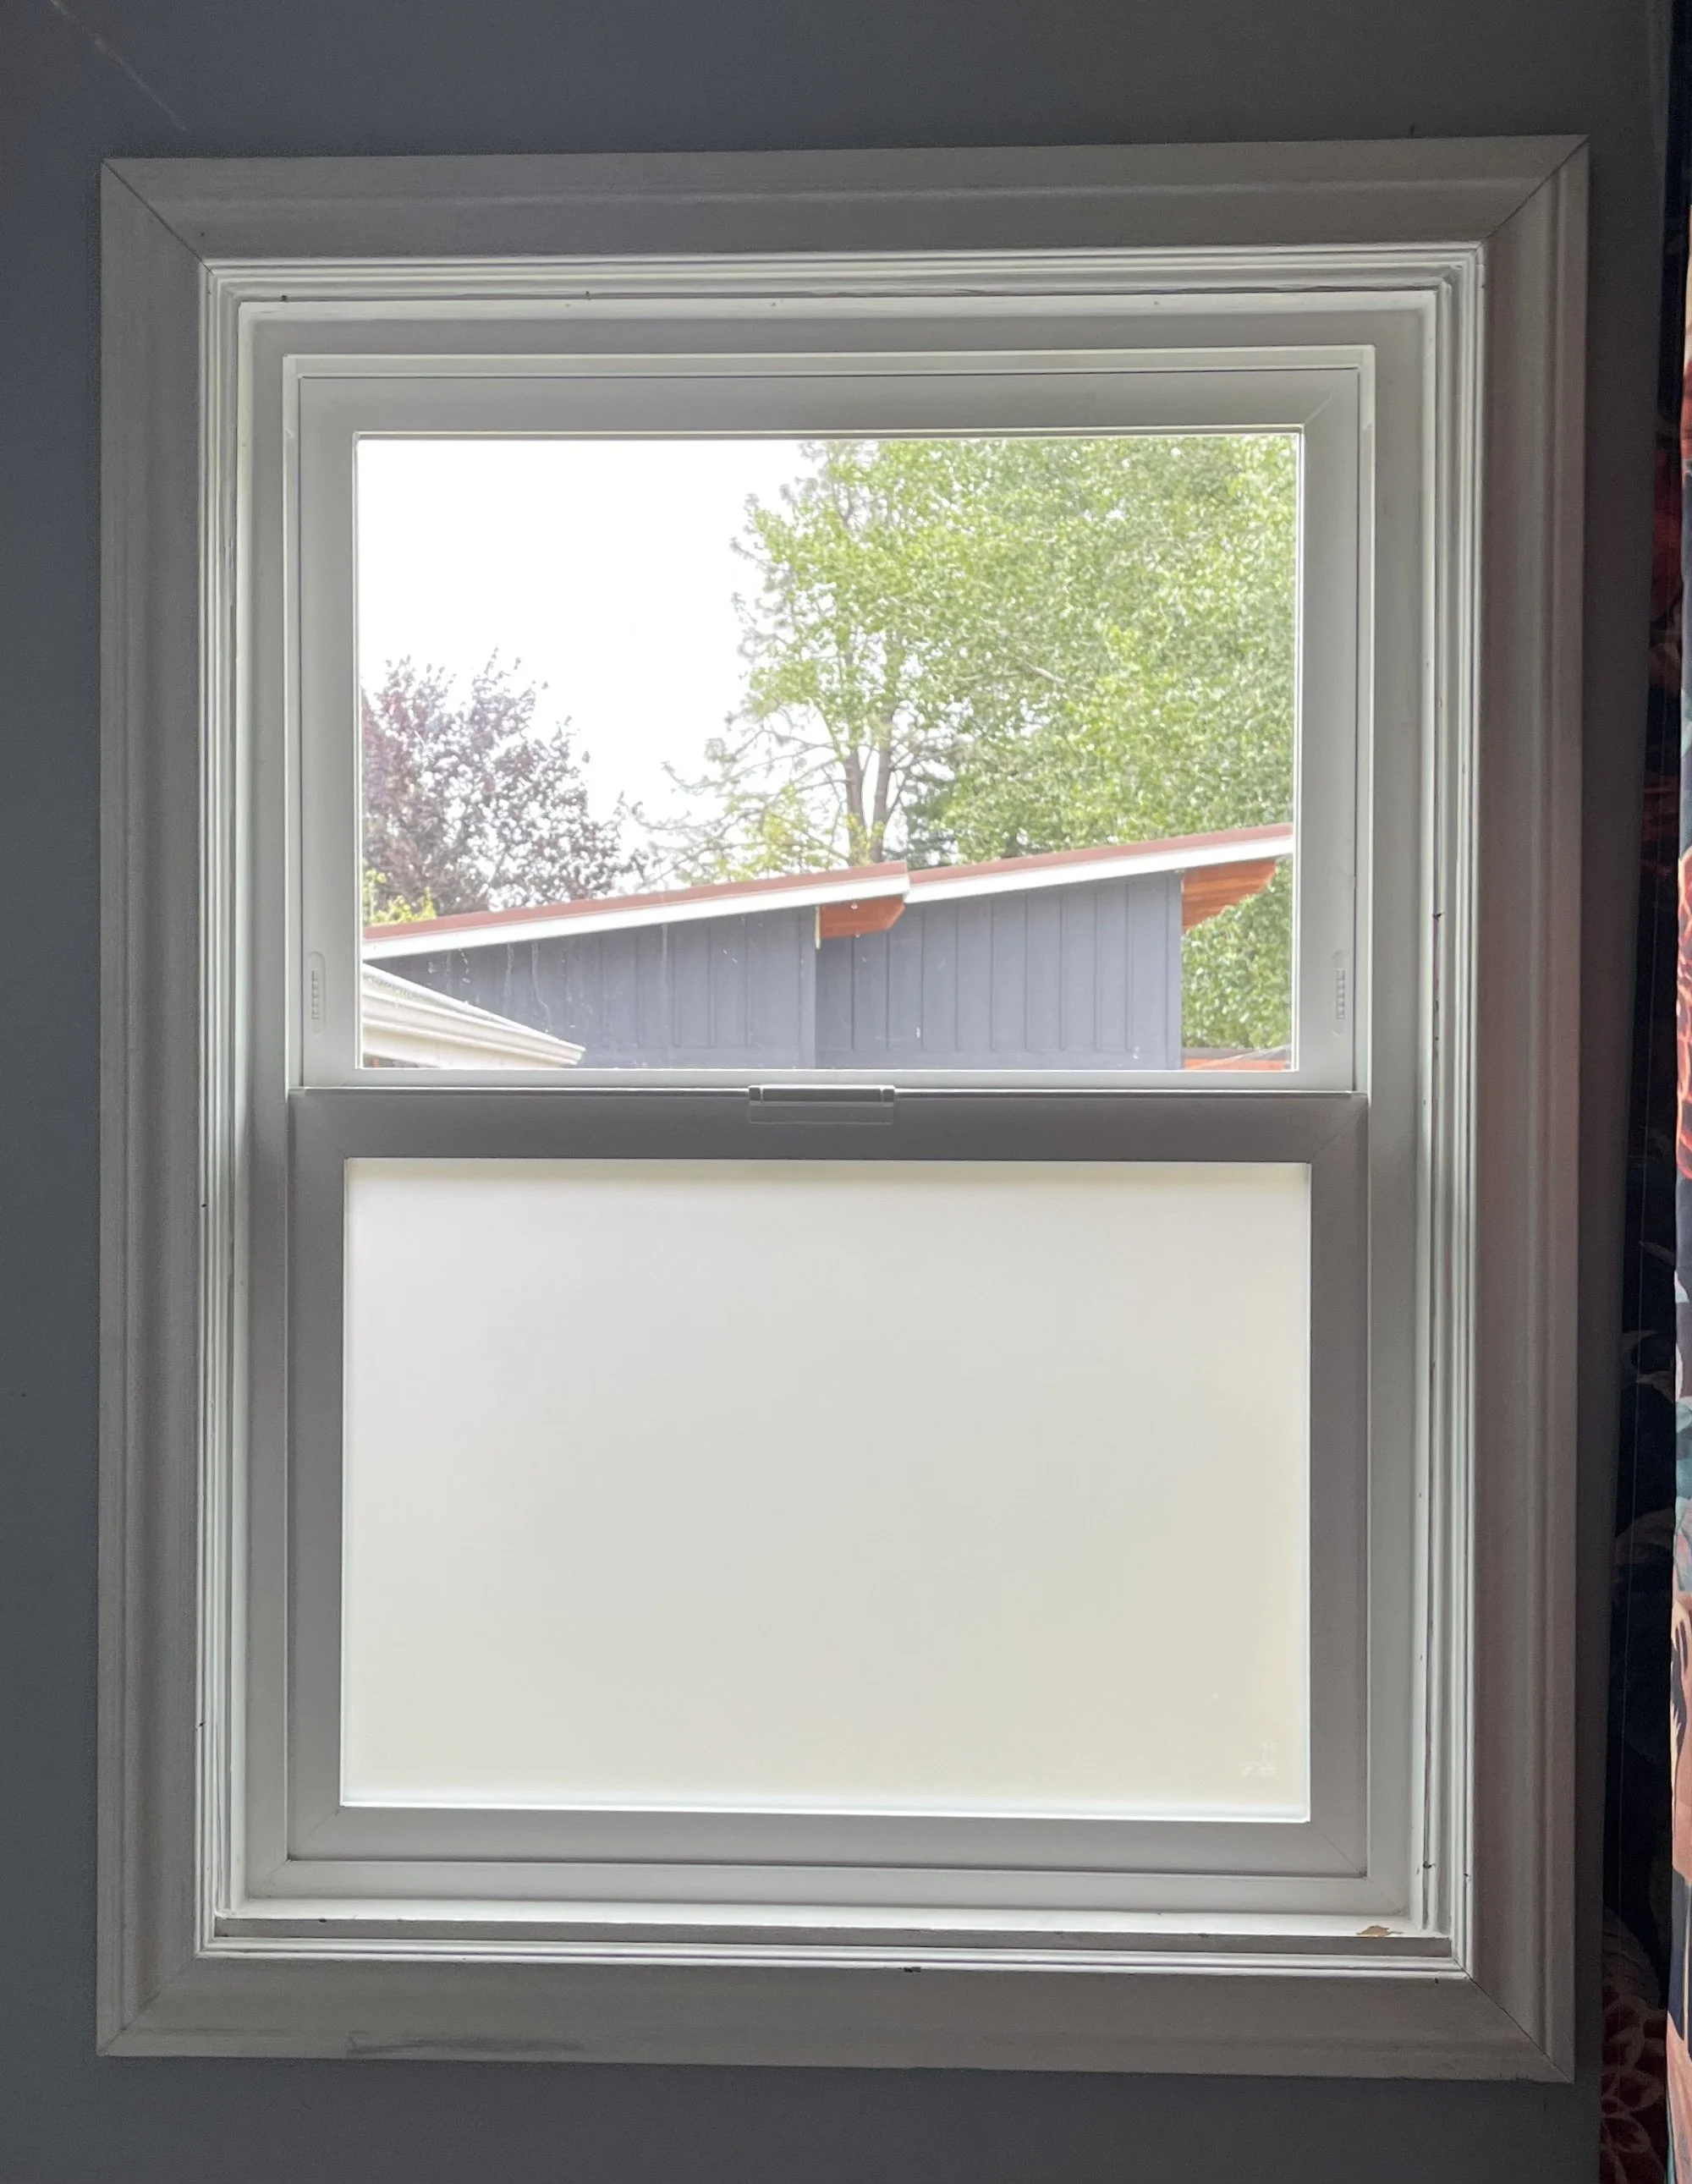
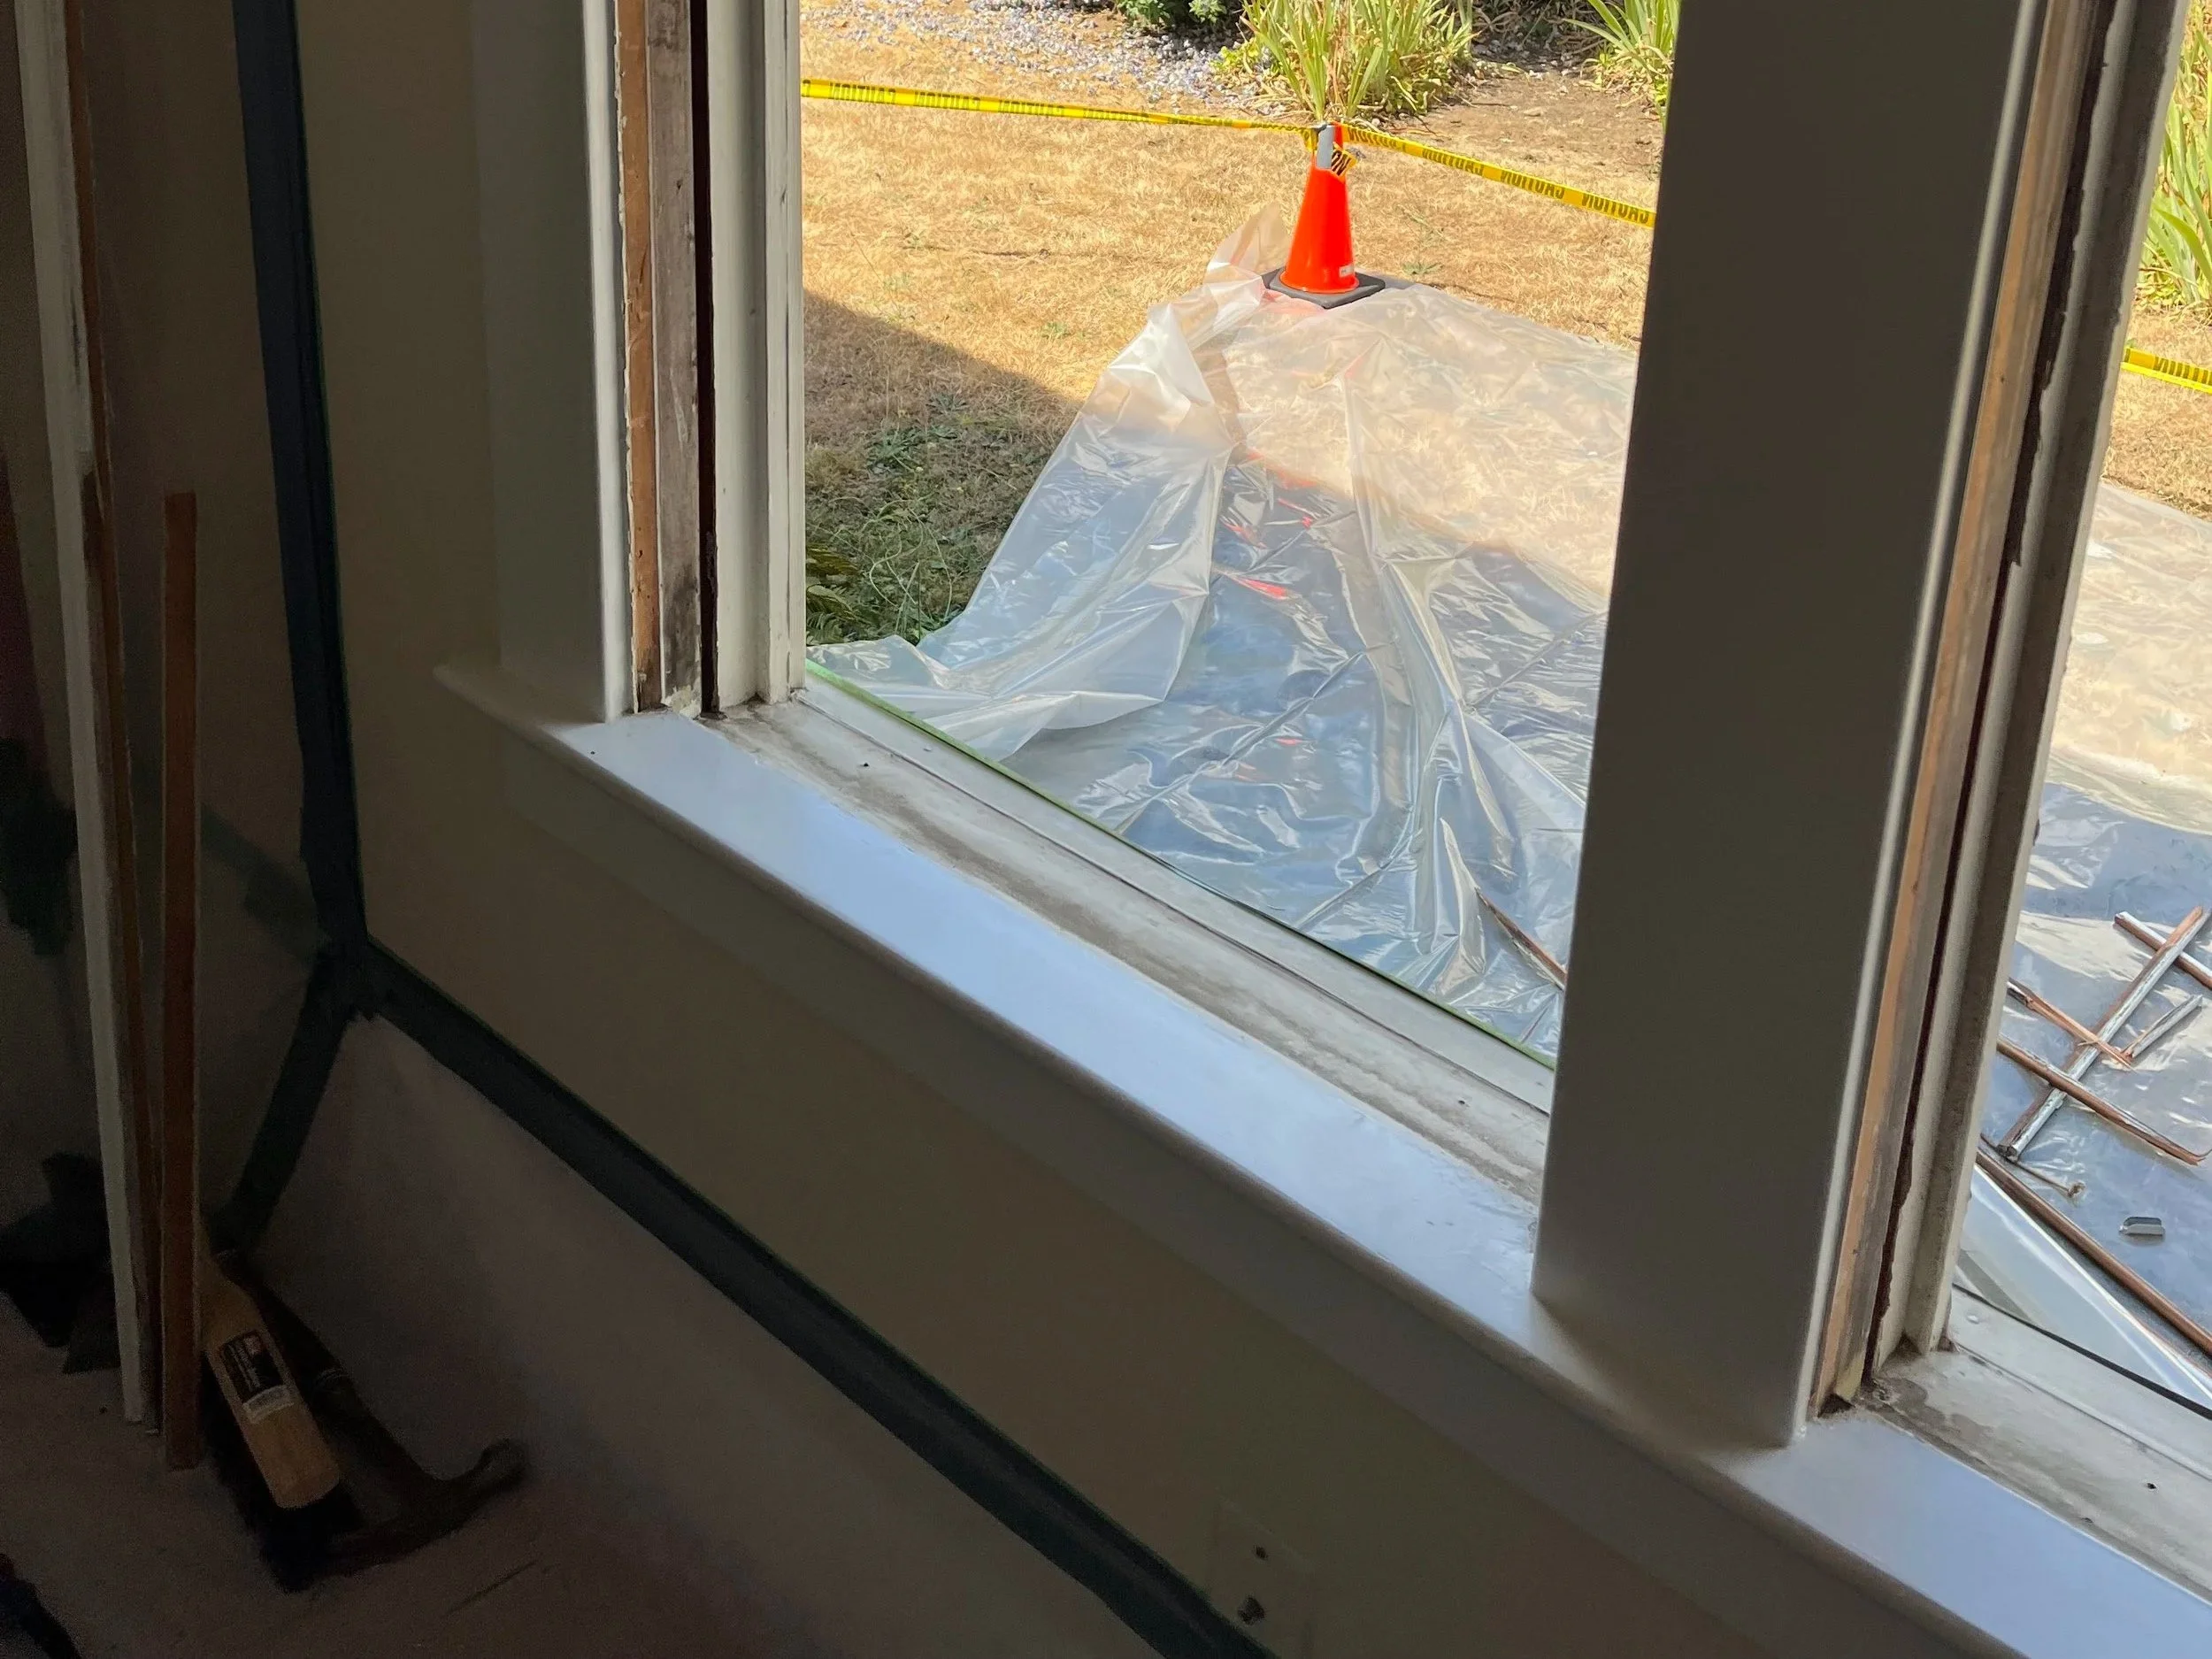
Buck frame installation is an installation type found almost exclusively on historic homes. These homes are built with a very durable window box, with a sloped sill for water management, built into the framing of the house. This is, in many cases, a window fortress that has stood the test of time (usually 100 years or more) and if at all possible we aim to maintain that system rather than replace it. A buck frame window typically has wood framed window sash, which are removed, and a new window is installed into the pocket created by the buck frame in the wall.
The first step of the installation is removal, the original window stops that surround the opening are gently removed, the window sash are removed, and the parting bead is removed. The iron weights that are in the wall are cut from their pulleys, and the pulleys are removed. The pocket is then insulated from the pulley locations.
Next, the window is installed in the opening, and anchored in multiple locations. This ensures proper function, operation and alignment. It is sealed to the buck frame from the jamb and the outside.

Finally, the stops are reinstalled, or new stops are installed, sealed to the interior, and after a 24 hour cure time, is ready for touch up paint.